
This chapter walks you through the steps of installing HaloENGINE using graphical and silent methods. By default, HaloENGINE is installed in Microsoft Purview Information Protection (MPIP) mode, which provides label-based protection. Note: Microsoft Purview Information Protection (formerly known as Microsoft Information Protection, MIP). Please note that the term "MIP" is still used in various places all across the manual. Both terminologies, MIP and MPIP, are used interchangeably throughout this document.
HaloENGINE With or Without Monitor Log Dashboard Integration
It is necessary to know how you would like to install the HaloENGINE with the following options. HaloENGINE can be used with or without the Monitor Log Dashboard Integration.
Option 1: HaloENGINE with Monitor Log Dashboard
The Monitor Log Dashboard is connected to HaloENGINE through the MongoDB database. During the installation process, you have the option to choose from the following two, depending on your database setup:
-
First-time installation of the MongoDB database.
This applies to an environment without a MongoDB database. While installing HaloENGINE, select Install MongoDB in the UI. The dashboard can only be successfully started over this connection.
-
Use the existing MongoDB database.
This applies to an environment where a MongoDB database has already been installed. To connect, all you need to do is use the current MongoDB connection string.
Option 2: HaloENGINE without Monitor Log Dashboard
If you do not want to integrate the dashboard, installing the MongoDB database is not necessary. At a later time, if you wish to integrate with the dashboard, you will need to uninstall and reinstall HaloENGINE using Option 1.
Interactive Installation
Use the GUI-based setup application included in the installation package to install HaloENGINE. If you want to run without a GUI, refer to the section “Silent Installation”. Note: This version does not support silent installation for integrating HaloENGINE with the dashboard. If you want to combine, use the GUI installer.
Prerequisites
Before installing HaloENGINE, ensure that the following requirements are met:
-
Ensure that the previously installed HaloENGINE Service is completely uninstalled.
-
Azure application registration details: Refer to the section “Registering an Application in Microsoft Entra ID”.
-
The certificate required for MPIP authentication must be installed in the Local Computer certificate store, along with the Root CA and Intermediate CA certificates.
-
If the certificate is CA-signed, install all related certificates in their respective stores (Root, Intermediate, and Personal).
-
If the certificate is self-signed, install it in both the Trusted Root Certification Authorities and Personal stores of the Local Computer.
-
-
Administrator rights: The user performing the HaloENGINE installation must have administrator privileges.
Installation Procedure
-
To begin the interactive installation, double-click the installer
HaloENGINE_Setup.exefile. Depending on your Windows security settings, you may get a warning such as "Do you want to allow the following program to make changes to this computer?". If you get this security warning, click the Yes button to continue the installation. -
When the installer starts, the Startup dialog appears, followed by the Welcome dialog.
Startup Dialog
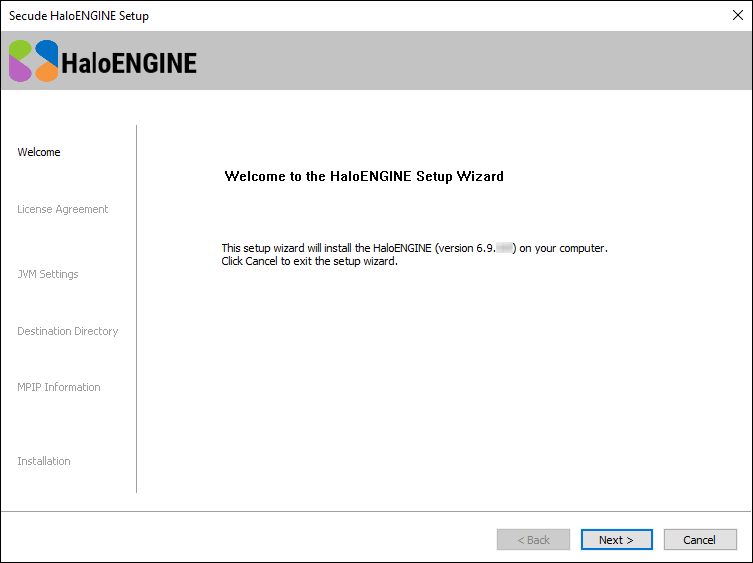
Welcome dialog
-
Click Next to continue the installation. The End-User License Agreement (EULA) dialog appears.
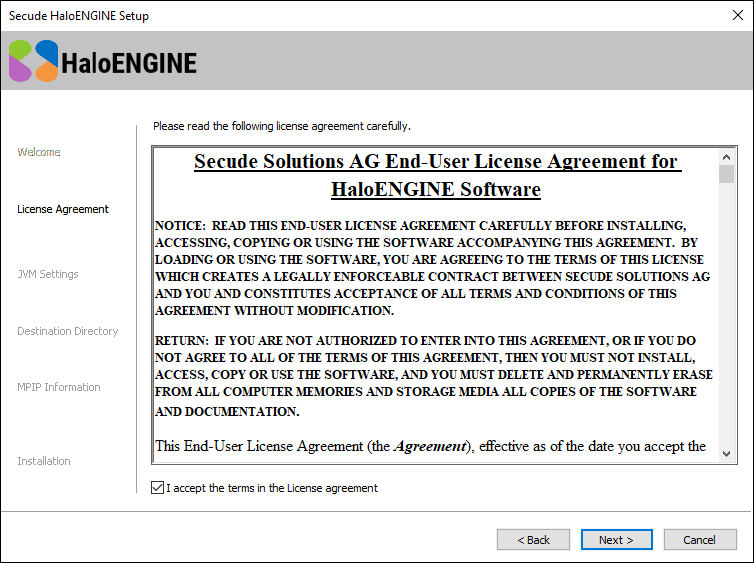
End-User License Agreement dialog
-
Read the End-User License Agreement. If you agree, select I accept the terms in the License Agreement, and click Next to continue. The Tomcat memory pool size configuration dialog appears.
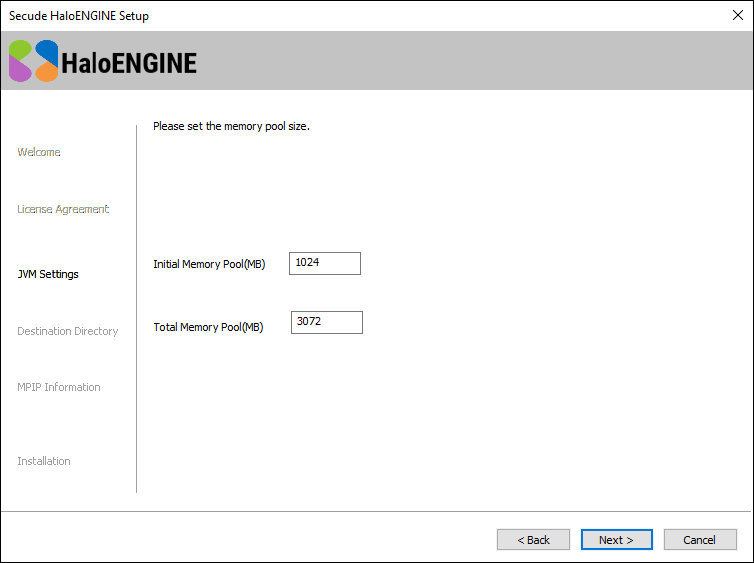
Tomcat pool size configuration dialog
-
If you want to change the default values of the Initial Memory Pool and Total Memory Pool, enter the amount of memory you want to allocate. Note: Ensure that the Total Memory Pool does not exceed the System's available 3/4th RAM.
-
Click Next. The destination folder selection dialog appears:

Destination folder selection dialog
-
By default, application files are stored in the program files directory (
C:\Program Files\Secude\). If you would like to choose an alternate location, click the Browse button and select your location preference. When you are finished, click Next. -
The certificate-based authentication dialog appears. To avoid errors, please ensure that you enter the correct Azure application registration details in the installation wizard.
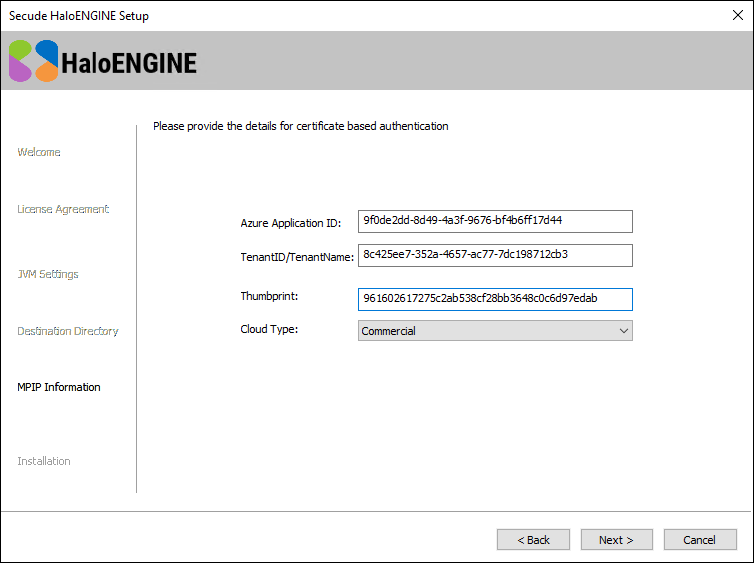
Certificate-based authentication dialog
-
Azure Application ID: Enter your application ID. For example,
9f0de2dd-8d49-4a3f-9676-bf4b6ff17d44 -
Tenant ID/Tenant Name: Enter your Microsoft Entra tenant name (for example,
contoso.onmicrosoft.com) or its tenant ID (for example,8c425ee7-352a-4657-ac77-7dc198712cb3). -
Thumbprint: Enter the thumbprint of the MPIP authentication certificate installed in the Local Computer certificate store.
-
Cloud Type: By default, Commercial will be set. However, based on your Azure subscription and configuration, you can change the cloud type from the list — Commercial / Custom / Germany / US_DoD / US_GCC / US_GCC_High / US_Sec / US_Nat / China_01. In the case of Custom cloud type, you need to enter the appropriate URLs in Protection Cloud URL (for example,
https://api.aadrm.com) and Policy Cloud URL (for example,https://dataservice.protection.outlook.com). -
Click Next.
-
-
The installation begins, and the progress is displayed in the dialog.
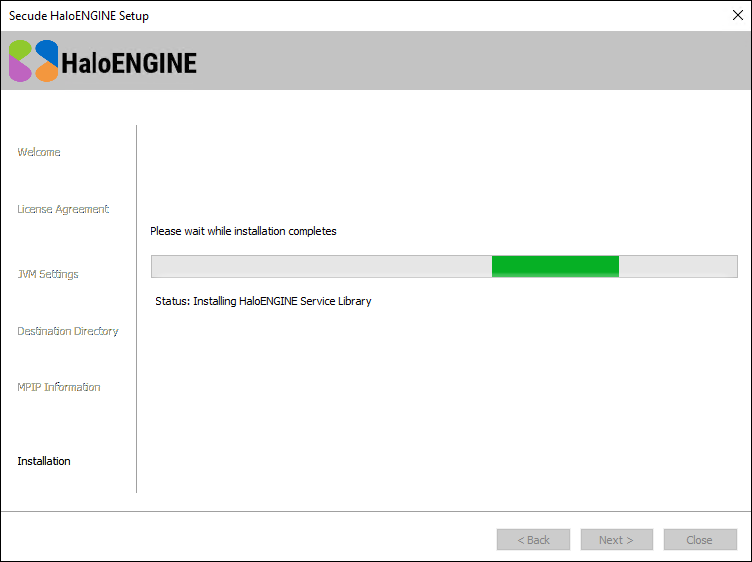
Installation progress dialog
-
When the installation is complete, a message appears confirming that the HaloENGINE has been successfully installed. Select one of the following options to configure the HaloENGINE.
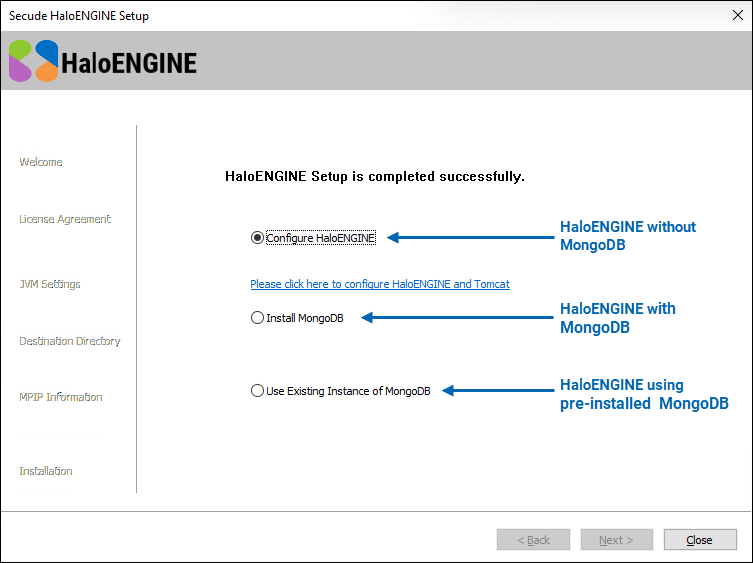
HaloENGINE setup without MongoDB
-
HaloENGINE without MongoDB: Select the Configure HaloENGINE option if you do not want to integrate the dashboard. As shown above, the configuration screen will display a link. Click the link to access the HaloENGINE admin portal, then proceed with point 12.
-
HaloENGINE with MongoDB: Select the Install MongoDB option if MongoDB is not currently installed in your environment. Click Next. The installation starts by displaying a progress bar that indicates the progress of the process. Please be patient as this will take some time. After installing MongoDB, the configuration screen will display a link. Click the link to access the HaloENGINE admin portal, then proceed with point 12.

MongoDBHaloENGINE setup with pre-installed
-
HaloENGINE using pre-installed MongoDB: Select the Use Existing Instance of MongoDB option if the database already exists, and then enter the MongoDB connection string in the MongoDB Uri field. The connection string varies depending on your configuration options.
-
With authentication, use the format
<mongodb>://<username>:<password>@<hostname>:<port>/<db_name>?authSource=admin>. For example:mongodb://myDatabaseUser:D1fficultP%40ssw0rd@cluster0.example.mongodb.net/?retryWrites=true&w=majority -
Without authentication, use the format
<mongodb>://<hostname>:<port>/<dbname>?directConnection=true>. For example:mongodb://localhost:27017/secude?directConnection=true
-
-
Click Next to proceed.
-
-
The configuration screen displays a link. Click the link to access the HaloENGINE Admin Portal.
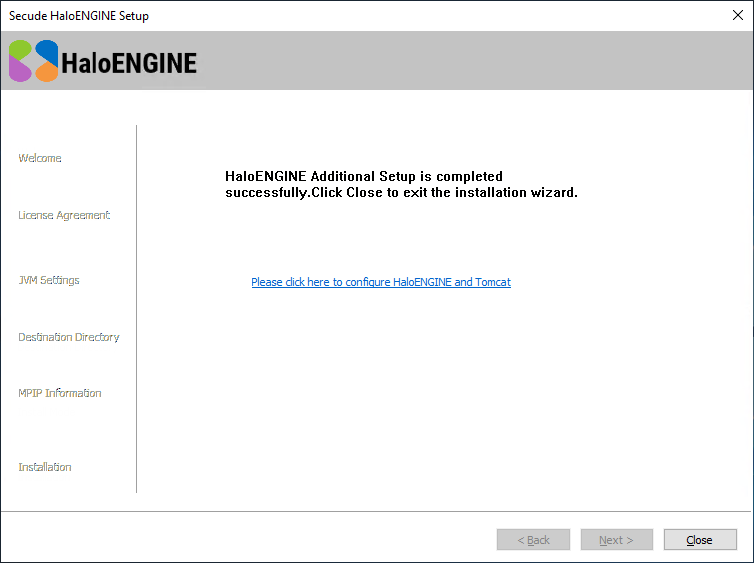
HaloENGINE with additional setup completed successfully
-
Once you click the link, the admin portal opens in your default browser, and a shortcut icon

HaloENGINE Tomcat service start-up delay after reboot
Since the HaloENGINE Tomcat service is set to Automatic (Delayed Start), it will start with a delay of approximately three minutes after a reboot or shutdown. The exact delay depends on the machine, as services marked Automatic (Delayed Start) are initiated only after all other Automatic services have started.
What to do next
-
Verify that the Maximum memory pool size in HaloENGINE Tomcat (
…bin/HaloENGINE_Tomcat9.exe) does not exceed the system RAM. After setting up the HaloENGINE certificate, verify that the maxSavePostSize (bytes) from the Connector, which is SSLEnabled (inserver.xml), and smaller than the "Maximum memory pool size". -
If you want to send large files (2GB) forward and backward, ensure that the "Maximum memory pool size" is greater than the maxSavePostSize (2GB, as specified above).
-
Please refer to the section "Initial Configuration of HaloENGINE Admin Portal” to know more about the initial configuration.
Silent Installation
Besides graphical mode, the HaloENGINE can be installed in silent mode, which does not require user involvement or display a user interface. It is a convenient way to streamline the installation process using the command at once.
-
Open a command prompt and go to the installer's location.
-
Follow the steps below to see the list of options present in silent mode:
TypeHaloENGINE_Setup.exe -help
Press Enter
Output
...
HaloENGINE_Setup.exe -install -initmempool <Initial memory pool size in MB(s). Minimum size is 128 MB> -totalmempool <Total memory pool size in MB(s). Maximum size is 3/4 of total RAM size.> -dir <destination_directory> -applicationid <application_id> -tenantid <tenant_id> -thumbprint <thumb_print> -cloudtype <(Commercial|Custom|Germany|US_DoD|US_GCC|US_GCC_HIGH|US_Sec|US_Nat|China_01) (if cloudtype is Custom) <protectioncloudurl> <policycloudurl>
HaloENGINE_Setup.exe -uninstall -keepconfig <true|false> -
The following command shows how to install and initialize HaloENGINE.
HaloENGINE_Setup.exe -install -initmempool 1024 -totalmempool 2048 -dir "C:\Program Files\Secude" -applicationid 9f0de2dd-8d49-4a3f-9676-bf4b6ff17d44 -tenantid 8c425ee7-352a-4657-ac77-7dc198712cb3 -thumbprint 961602617275c2ab538cf28bb3648c0c6d97edab -cloudtype Custom https://api.aadrm.com https://dataservice.protection.outlook.com -
Press Enter.
-
Please wait until the success message appears. When it is displayed, the installation process is complete, and you can proceed to access the HaloENGINE Admin Portal.