
UI Variation in Single Customer and Multi-Customer pages
The HaloENGINE pages will differ slightly depending on the installed mode (single or multi).
-
Single Customer UI: Here, you can notice the default Customer ID: halo_customer in breadcrumb navigation.
-
Multi Customer UI: Depending on your customer (ID) creation, the ID gets displayed on top of Customer Configuration pages. For example, if you have created a customer as "DELBONT INDUSTRIES", then you can notice Customer ID: DELBONT INDUSTRIES in breadcrumb navigation.
To manage your customers, use the Customer Management page. If you have selected Single-Customer mode, proceed with Phase 3. Activate License (First time).
-
On the left navigation bar, click Customer Configuration.
-
Click on the plus icon, and the Customer Configuration page will appear as shown in the figure below:
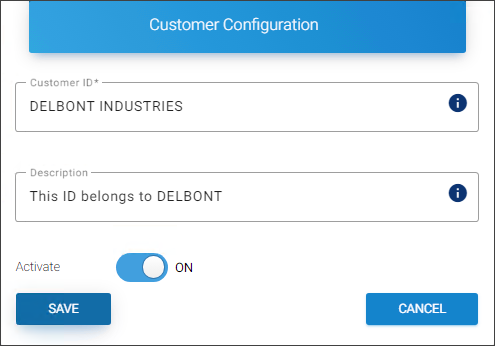
Customer ID creation
-
Enter the following details:
-
Customer ID − Enter a customer ID.
-
Description − Enter a description for it (optional).
-
Activate − The current Customer ID is automatically enabled by default. However, you can deactivate it by clicking the Activate slider button.
-
-
Click Save.
-
Repeat the above steps to generate additional customer IDs.
-
The default Customer ID for Single Customer mode is
halo_customer. By using the edit icon, the name can be modified.Results:
-
You will receive a confirmation message after successfully enrolling a customer.
-
The new customer ID is added to the Customer IDs list as shown in the figure below:

Customer IDs in the list
-
Related tasks:
-
You can manage the Customer IDs by using the edit/delete icons.
-
You can view customer details by clicking the Customer Details icon.
What to do next
-
Select a customer ID from the list and the following page will appear for the specific ID.
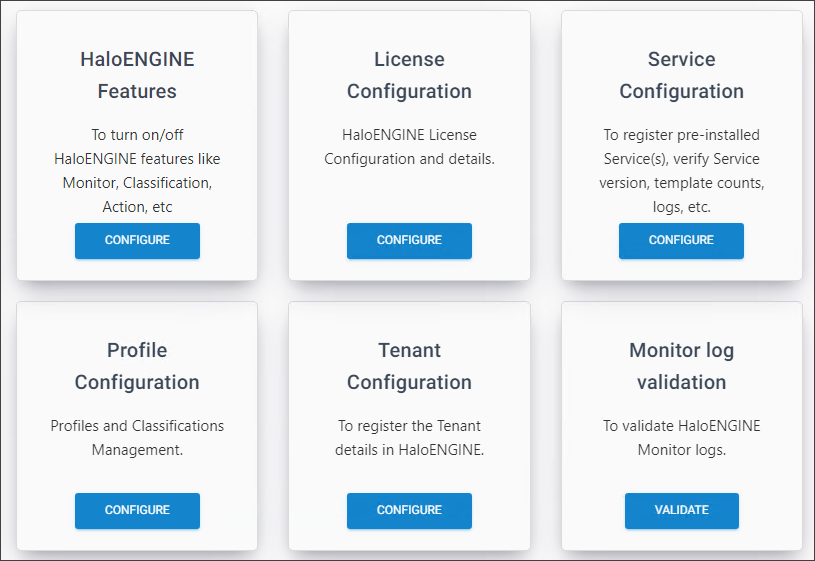
Customer-specific configuration
-
To configure the chosen customer ID, click on the tabs. Please see the sections that follow.