
This chapter describes how to install and configure the HaloCAD Add-on for AutoCAD. This manual just briefly explains steps 1-3, which cover the prerequisites, obtaining the licensing key, and creating an encrypted JSON file; for more information, please refer to the Technical Reference Manual.
Step 1: Fulfill the Prerequisites
-
Refer to the Release Notes to learn about supported operating systems, file types, and CAD applications.
-
Before installing the add-on, make sure all prerequisites are fulfilled.
Please refer to the section “Prerequisites”.
Step 2: Obtain the License Key
Obtain the license key and choose whether to activate it automatically or manually.
Please refer to the section “License Administration”.
Step 3: Create an Encrypted JSON File
To ensure a secure installation, create an encrypted JSON file using this admin tool and share it without exposing the original tenant details. When the encrypted JSON file is ready, place it with the HaloCAD installer. By reading data from the hc.conf.enc file, the installer activates the license and bypasses the "Initialization" screen, which would otherwise ask for Microsoft Entra ID application details.
Please refer to the section “Secure Installation (Recommended)”.
Step 4: Install the Add-on
You can install the add-on in the following modes:
-
Graphical Mode
Graphical mode installation is an interactive, graphical user interface-based method that is driven by a wizard. -
Silent Mode
Silent-mode installation is a non-interactive method of installing the add-on using command lines. -
Via System Center Configuration Manager
With System Center Configuration Manager (SCCM), the add-on is deployed on the targeted computers across your enterprise.
Graphical Mode
Before you begin
The following prerequisites must be met:
-
A user who installs the HaloCAD Add-on must have administrator rights.
-
Ensure that all active and open CAD applications are closed. If not, HaloCAD prompts a warning message as “Please close all the CAD applications to proceed with the installation of HaloCAD Add-on for AutoCAD.”
-
Ensure that the HaloCAD Reader Add-on for AutoCAD is not installed on the same workstation. If it is already installed, HaloCAD prompts a warning message as “No supported CAD applications are available in the system. (OR) Remove the Reader version of this product.”
-
Ensure that your Microsoft Entra tenant details are ready when the installation UI requests them. As an alternative, you can use
hc.conf.encfor a secure and automated installation.
Installation Procedure
Install the add-on using the GUI-based setup program provided in the installation package.
-
Double-click the installer
HaloCAD_AutoCAD_Setup.exefile. -
Depending on your Windows security settings, a prompt may appear stating, "Do you want to allow the following program to make changes to this computer?" If this warning appears, click Yes to continue with the installation.
-
When the installer starts, the Startup dialog appears, followed by the Welcome dialog.

Startup dialog
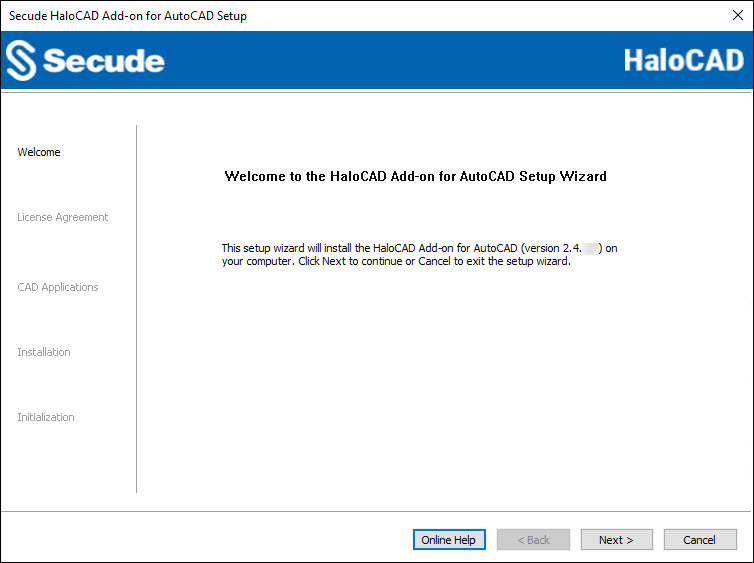
Welcome dialog
-
Click Next to continue the installation. The installer UI includes a link to the product’s online documentation. When you click Online Help, the installation help page opens in your browser.
-
The End-User License Agreement (EULA) dialog appears.
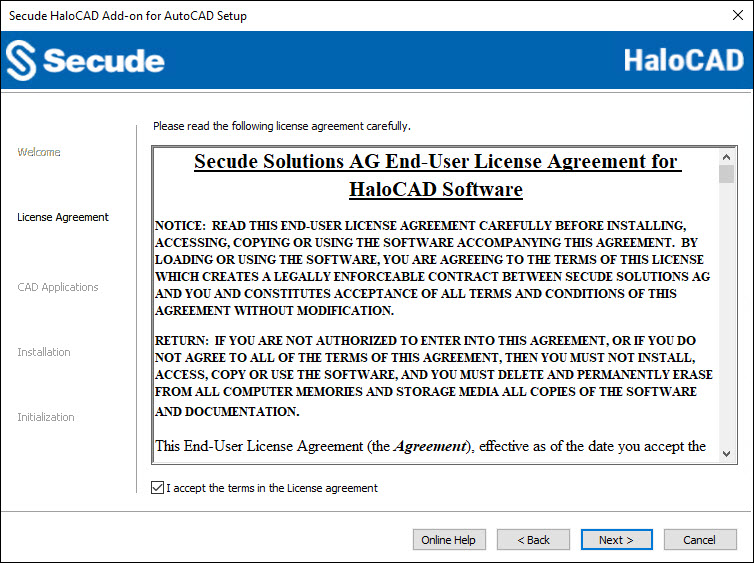
End-User License Agreement dialog
-
Read the End-User License Agreement. If you agree to the terms, select I accept the terms in the License Agreement and click Next to continue.
-
The CAD application version selection dialog appears.
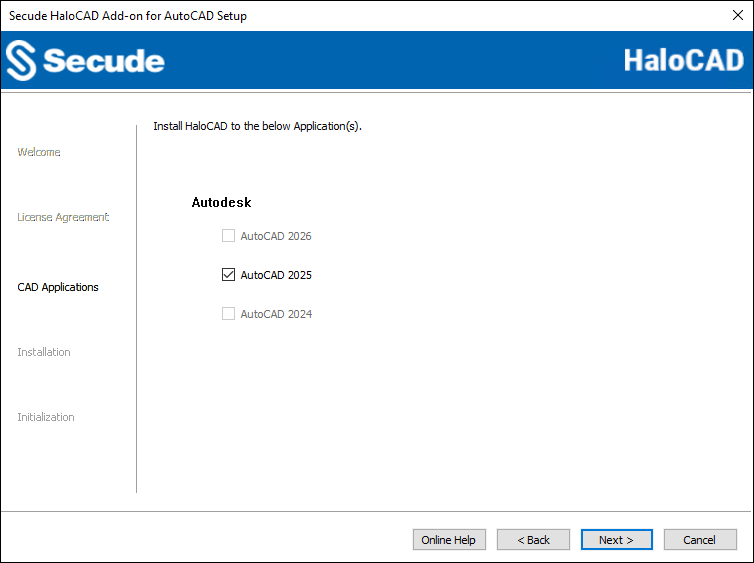
CAD application version selection dialog
-
Select the installed AutoCAD application version in your system.
-
Click Next. To review or modify installation settings (if needed), click Back to return to the previous screens.
-
-
The installation begins, and the progress is displayed in the dialog.
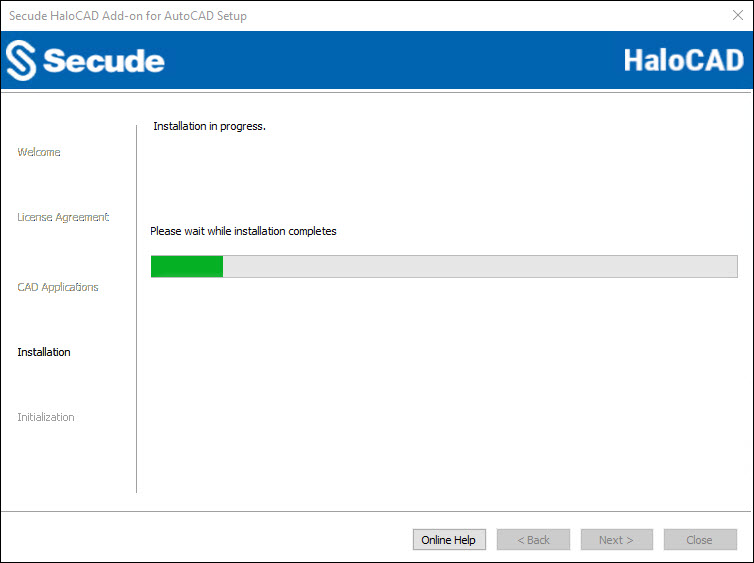
Installation progress dialog
-
When the installation is complete, a message appears confirming that the add-on has been successfully installed.
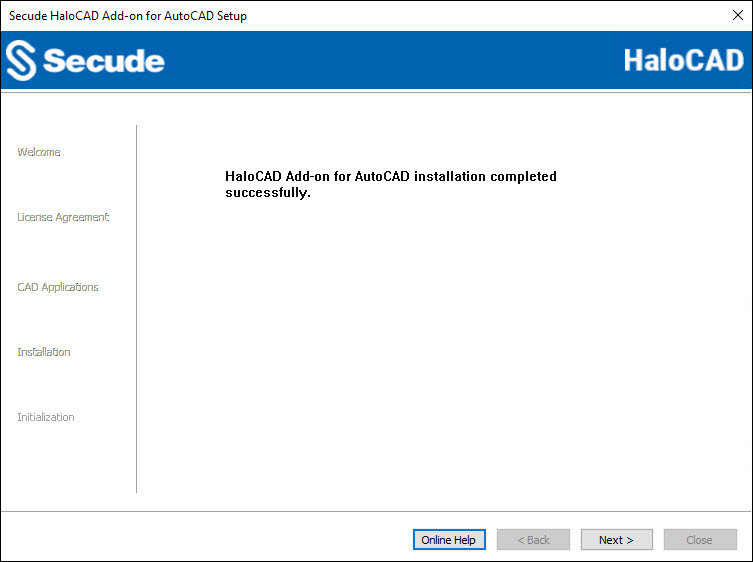
Installation completed dialog
-
Click Next to proceed.
-
The initialization dialog appears. To prevent connectivity issues, ensure that the correct Microsoft Entra ID application details are entered on the screen. Note: If the
hc.conf.encfile is included with the installer, this initialization screen is skipped and only the completion dialog is shown. The initialization screen appears only when thehc.conf.encfile is not present in the installer folder.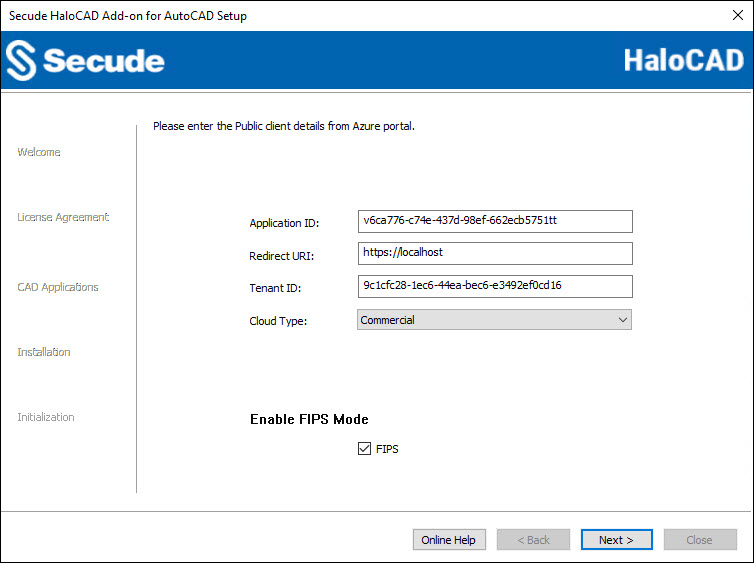
Initialization dialog
-
Application ID: Enter the unique identifier of your registered application. For example,
v6ca776-c74e-437d-98ef-662ecb5751tt -
Redirect URI: Enter the URI that was provided when registering the native application in the Azure portal. For example,
https://localhost. -
Tenant ID: If the registered application is Single tenant, you need to enter the globally unique identifier of your tenant if not, you can leave it empty. For example,
9c1cfc28-1ec6-44ea-bec6-e3492ef0cd16 -
Cloud Type: Commercial is selected by default. Based on your Azure subscription and configuration, select the required cloud type from the list: Commercial, Custom, Germany, US_DoD, US_GCC, US_GCC_High, US_Sec, US_Nat, or China_01. If you select Custom, enter the appropriate URLs in the Protection Cloud URL (for example,
https://api.aadrm.com) and Policy Cloud URL (for example,https://dataservice.protection.outlook.com) fields. -
Enable Federal Information Processing Standards (FIPS): Enable this option to use encryption algorithms that comply with FIPS standards. When enabled, MPIP uses only FIPS-compliant encryption algorithms, and when disabled, it uses standard encryption algorithms. If this option was not enabled during installation, it can later be enabled through a registry entry. For more details, please refer to the section “Step 5 Modify Registry Settings”.
-
Click Next.
-
-
Once the initialization is complete, a success message appears as shown below.
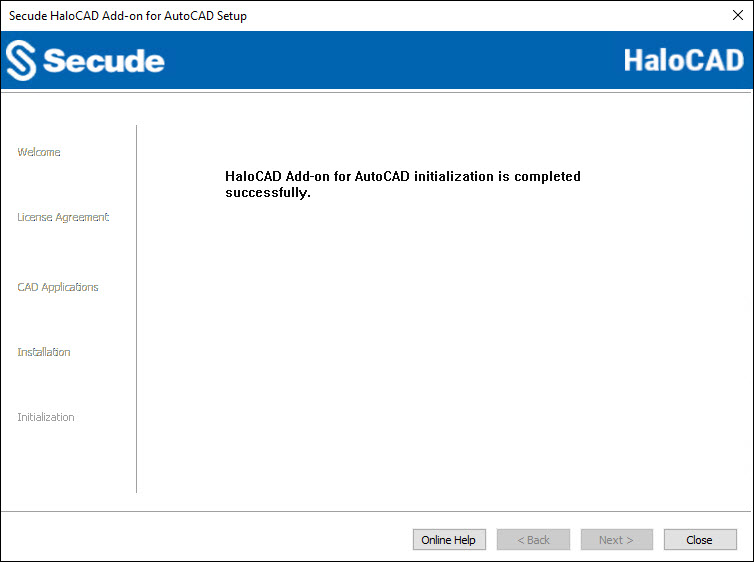
Initialization completed dialog
-
Click Close to close the installation wizard.
Post-installation checks:
-
To view the add-on, open the AutoCAD Application > HaloCAD tab.
-
Masking Personally Identifiable Information (PII): By default, the HaloCAD Add-on masks Personally Identifiable Information (PII) in logs, such as email names, file paths, and IP addresses in the MIP SDK logs. In HaloCAD logs, information such as the label name, label ID, engine ID, policy ID, and watermark text is masked with asterisks. To view PII in clear text, create the following registry entry in Path:
Computer\HKEY_CURRENT_USER\SOFTWARE\Secude\HaloCAD Add-on for AutoCADName:
mipallowpii, Type:REG_SZ, Value:trueThe log files are located at the following paths:
-
MIP SDK log:
%AppData%\Roaming\Secude\HaloCAD\acad\mip\logs\mip_sdk.miplog -
HaloCAD log:
%AppData%\Roaming\Secude\HaloCAD\acad\halocad.log
-
-
If your network infrastructure includes a proxy server that provides access to external websites. Then, to connect to the Secude License Manager URL, you need to manually add the Proxy settings in the add-on. To do so, create a registry entry in the root directory,
Computer\HKEY_LOCAL_MACHINE\SOFTWARE\Secude\HaloCAD Add-on for AutoCAD
Name:proxyuri, Type:REG_SZ, Value: The format is,<URL>:<PORT>. For example,http://10.41.0.130:808
Silent Mode
Besides graphical mode, the add-on can be installed in silent mode, which does not require user involvement or display a user interface. It is a convenient way to streamline installation using the command at once.
-
Open the Command Prompt with elevated rights (Run as Administrator).
-
Navigate to the add-on installer directory.
-
To know the list of options available in silent mode, follow the steps given below:
TypeHaloCAD_AutoCAD_Setup.exe -help
PressEnter
Output
...
HaloCAD_AutoCAD_Setup.exe -install -application <AutoCAD 2026 |AutoCAD 2025 |AutoCAD 2024 > -applicationid <azure_application_id> -redirecturi <azure_redirect_url> -tenantid <azure_tenant_id for Single-tenant app|null for Multi-tenant app> [-cloudtype <Commercial|Custom|Germany|US_DoD|US_GCC|US_GCC_High|US_Sec|US_Nat|China> -protectioncloudurl <protection cloud url> -policycloudurl <policy cloud url>] -enablefipsmode <true|false>
[Default Parameters: cloudtype - Commercial and enablefipsmode - false]
HaloCAD_AutoCAD_Setup.exe -uninstall
To delete HaloCAD cache through Silent Mode Uninstallation
HaloCAD_AutoCAD_Setup.exe -uninstall -clearcache <yes>
For Silent Mode Installation if ENC file already exists in the same location
HaloCAD_AutoCAD_Setup.exe -install -application <AutoCAD 2026 |AutoCAD 2025 |AutoCAD 2024 > -enablefipsmode <true|false> -
The following command illustrates how to install the add-on using the Azure application details.
HaloCAD_AutoCAD_Setup.exe -install -application "AutoCAD 2025" -applicationid v6ca776-c74e-437d-98ef-662ecb5751tt -redirecturi https://localhost -tenantid 9c1cfc28-1ec6-44ea-bec6-e3492ef0cd16 -cloudtype Custom -protectioncloudurl https://api.aadrm.com -policycloudurl https://dataservice.protection.outlook.com -enablefipsmode true -
The example below shows how to install the add-on using the
hc.conf.encfile located in the same installation location.
HaloCAD_AutoCAD_Setup.exe -install -application "AutoCAD 2025" -enablefipsmode true -
Press
Enter. -
The installation is complete.
Via System Center Configuration Manager
Microsoft System Center Configuration Manager (SCCM) is an administrative tool that allows organizations to deploy operating systems and applications to Windows users efficiently and cost-effectively across their environment.
Using SCCM, the HaloCAD add-on can be deployed silently and automatically to specific target computers throughout the enterprise.
Before You Begin
-
Ensure that you have reviewed the prerequisites described in the Graphical Mode section.
-
We recommend adhering to best practices when creating a deployment procedure.
-
For guidance on preparing your environment, refer to the official Microsoft online documentation.
Deployment Using SCCM
This guide assumes that an SCCM environment is already configured. After configuration, you can use the silent mode commands described in the Silent Mode section to deploy the add-on.
Step 5: Modify Registry Settings
Prerequisite: To modify the add-on registry entries, first launch the CAD application and sign in to Microsoft Purview Information Protection to ensure that an active HaloCAD session is established.
Note: Only the registry entries listed in the table below should be modified.
The HaloCAD registry entries are grouped into two sections: HKEY_CURRENT_USER and HKEY_LOCAL_MACHINE. Depending on your requirements, you can modify the following settings:
-
HKEY_CURRENT_USER\SOFTWARE\Secude\HaloCAD Add-on for AutoCAD. Once you have logged into the HaloCAD Session, open Registry Editor, navigate to this path, and modify the desired registry key. For example, to change the log level, double-click loglevel, change the "Value data" using the values listed in the table below, and then click OK.-
loginterval
-
loglevel
-
logsize
-
-
HKEY_LOCAL_MACHINE\SOFTWARE\Secude\HaloCAD Add-on for AutoCAD:enable_fips(This entry does not require an active HaloCAD session.)
|
Name |
Default Value |
Type |
Description |
|---|---|---|---|
|
loginterval |
|
REG_SZ |
It automatically removes log files that are older than the default retention period. By default, log files older than 30 days are deleted. |
|
loglevel |
|
REG_DWORD |
Log level information is logged in the
|
|
logsize |
|
REG_SZ |
The |
|
enable_fips |
|
REG_SZ |
Enable or Disable FIPS Mode
|
Configuration in the HaloCAD Registry
What to do next
-
If the encrypted configuration file was placed with the installer:
-
You can launch the CAD application and start using the HaloCAD features immediately.
-
The license is activated silently in the background.
-
For details on protecting CAD files, refer to the Operations Manual.
-
-
If the encrypted configuration file was not placed with the installer:
-
You must activate the license manually.
-
Follow the instructions in the “UI-based Manual License Activation” section of the Technical Reference Manual.
-
HaloCAD Add-on with PLM
-
If you have installed HaloCAD as a standalone add-on in your environment, you can create a file and protect it with a suitable label. For more information, please refer to the Operations Manual.
-
If you have the HaloCAD add-on installed in a suitable PLM environment, it will intercept the file download and automatically protect it with a suitable label. For more information, please refer to the HaloCAD for PLM Operations Manual.
To integrate with SAP ECTR, you need to install the following components:
-
HaloENGINE Service
-
HaloENGINE
-
HaloCORE Client for NetWeaver
-
HaloCORE for DMS
-
HaloCAD KPro
To integrate with Autodesk Vault, you need to install the following components:
-
HaloENGINE
-
HaloCAD for Autodesk Vault
-