
This chapter walks through the process of installing and configuring the HaloSHARE.
Interactive Installation
Install HaloSHARE using the GUI-based setup program provided in the installation package. Make sure the user who installs the HaloSHARE has administrator rights.
-
To begin the interactive installation, double-click the installer
HaloSHARE_Setup.exefile. Depending on your Windows security settings, you may get a warning such as "Do you want to allow the following program to make changes to this computer?". If you get this security warning, click the Yes button to continue the installation. -
When the installer starts, you will see the startup dialog followed by the welcome dialog:

Startup dialog
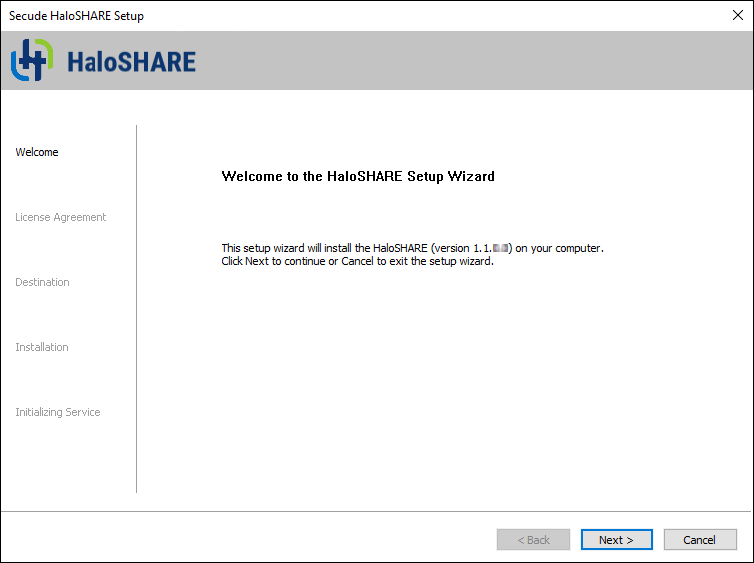
Welcome dialog
-
Click Next to continue the installation. The end-user license agreement dialog will appear:
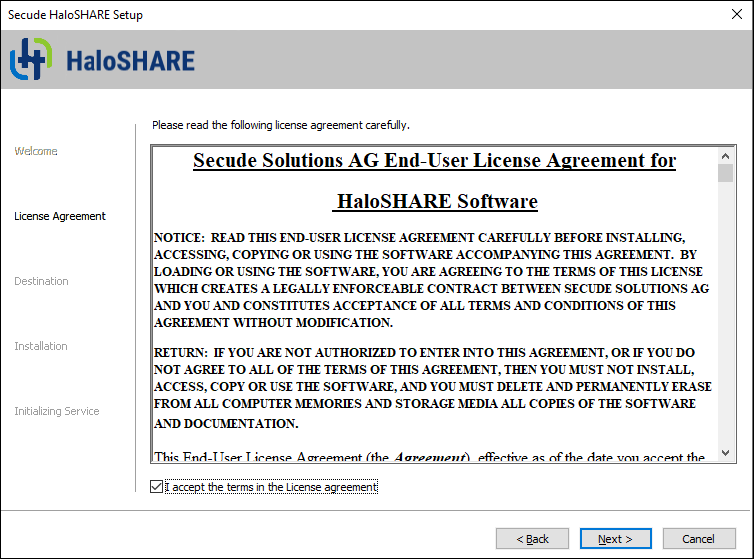
End-user License Agreement dialog
-
Read the End-User License Agreement. If you agree, select I accept the terms in the License Agreement and click Next.
-
The destination folder selection dialog will appear:
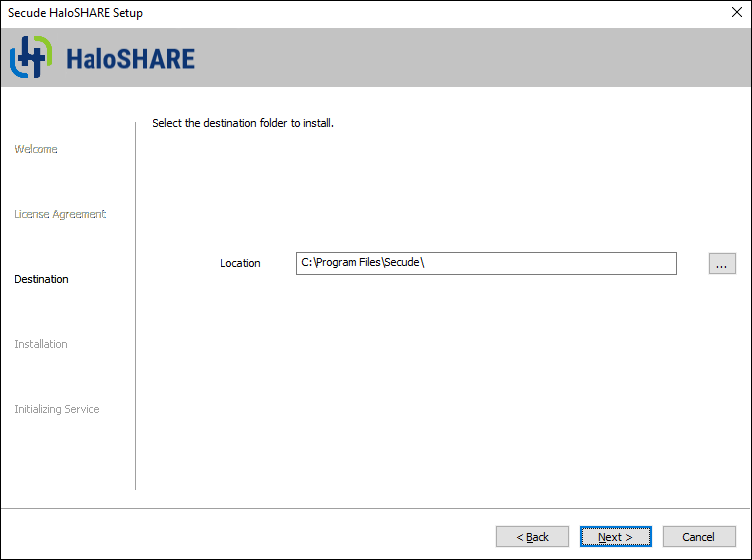
Destination folder selection dialog
-
By default, application files are stored in the program files directory (
C:\Program Files\Secude\). If you would like to choose an alternate location, click the Browse button and select your location preference. When you are finished, click Next. -
The installation starts with a progress bar that displays the status of the process.
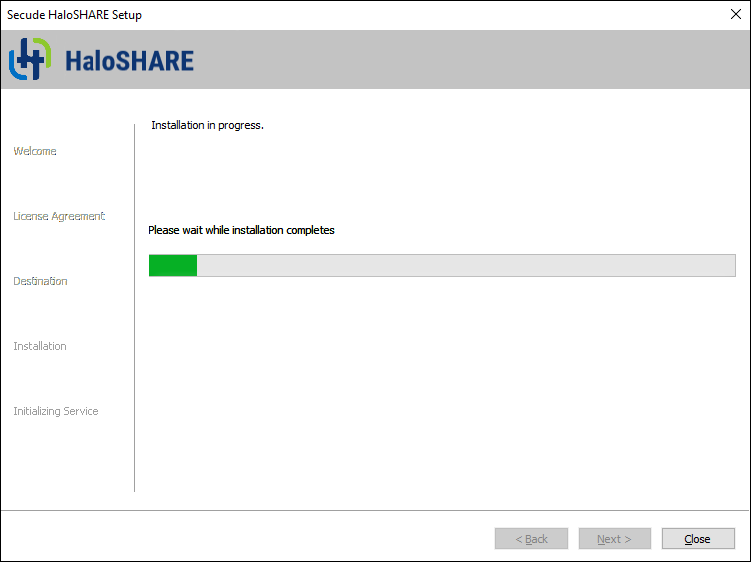
Installation progress dialog
-
When the installation is completed, you will see a message confirming that the HaloSHARE has been successfully installed.

Installation completed dialog
-
Click Next. The user credential dialog will appear:
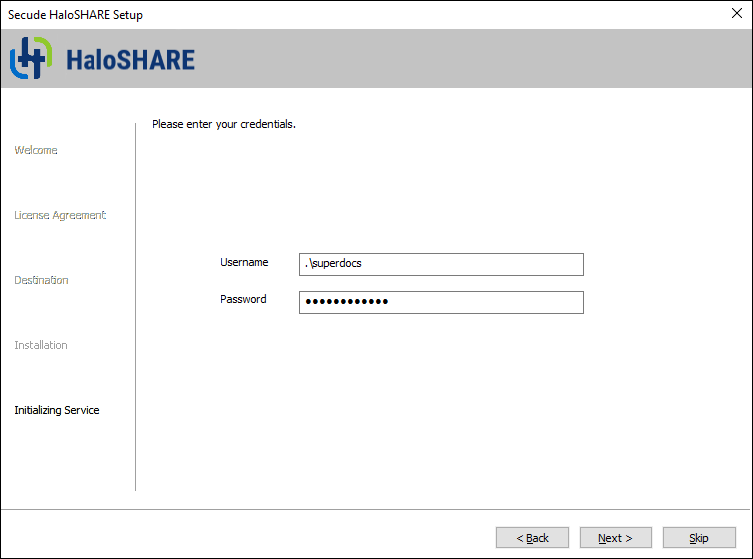
User credential dialog
-
If the computer is connected to a domain and you want to run the HaloSHARE on it, you need to enter a domain user account and password. For example,
[domain]\[user],hc.test\john. -
On a non-domain joined computer, you need to enter the username and password of a user. For example,
.\[user],.\john.
-
-
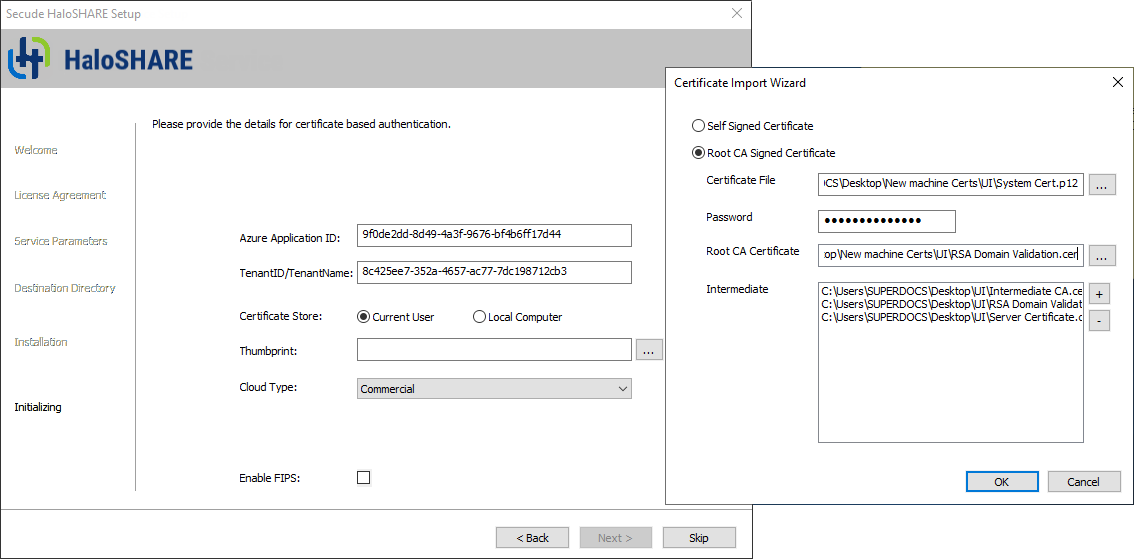
Click Next. The certificate based authentication dialog will appear. To avoid errors, please ensure that you enter the correct Azure application registration details in the installation wizard.
-
Azure Application ID: Enter your application ID. For example,
9f0de2dd-8d49-4a3f-9676-bf4b6ff17d44 -
Tenant ID/Tenant Name: Enter your Microsoft Entra tenant name (for example,
halosecude.onmicrosoft.com) or its tenant ID (for example,8c425ee7-352a-4657-ac77-7dc198712cb3). -
Certificate Store Location: Select a certificate store (Current User or Local Computer). When selecting Local Computer, ensure that the user running the service has at least local administrator rights.
Certificate based authentication dialog
-
Thumbprint: If the certificate is already installed, you need to enter the thumbprint manually. If the certificate is not installed, click the Browse button to select the necessary certificates as explained below:
-
Option 1: Self-Signed Certificate—select this option if you have a self-signed certificate and this must be the certificate that is registered in the Azure portal. Click Browse button to select the certificate (
.pfxor.p12) and type the password. -
Option 2: Root CA Signed Certificate—select this option if you have a certificate that is signed by a CA. Click Browse button to select the signed certificate. The certificate path will appear in Certificate File field. Type its password in Password field. To select the Root CA (
.cer/.crt), click Browse button in Root CA Certificate field. To select the intermediate CA certificates, click Add button in Intermediate CA field. In case, you want to remove a certificate from the "Certificate Import Wizard", click Delete button. Click OK, the thumbprint will be populated automatically. -
Cloud Type: By default, Commercial will be set. However, based on your Azure subscription and configuration, you can change the cloud type from the list — Commercial / Custom / US_DoD / US_GCC / US_GCC_High / US_Sec / US_Nat / China_01. In the case of Custom cloud type, you need to enter the appropriate URLs in Protection Cloud URL (for example,
https://api.aadrm.com/) and Policy Cloud URL (for example,https://dataservice.protection.outlook.com/). -
Enable Federal Information Processing Standards (FIPS): If you want to utilize encryption techniques that comply with FIPS standards, enable this option. By enabling the option, MPIP uses only standard encryption algorithms. If not, MPIP uses standard encryption algorithms. However, FIPS mode can be enabled at any moment using the Administration Manager Tool (
hsadm.exe). For more details, please refer to MIP SDK Documentation “MIP SDK FIPS Compliance Statement”. -
Click Next.
-
-
Once the initialization is completed, you will get the success message as shown below.
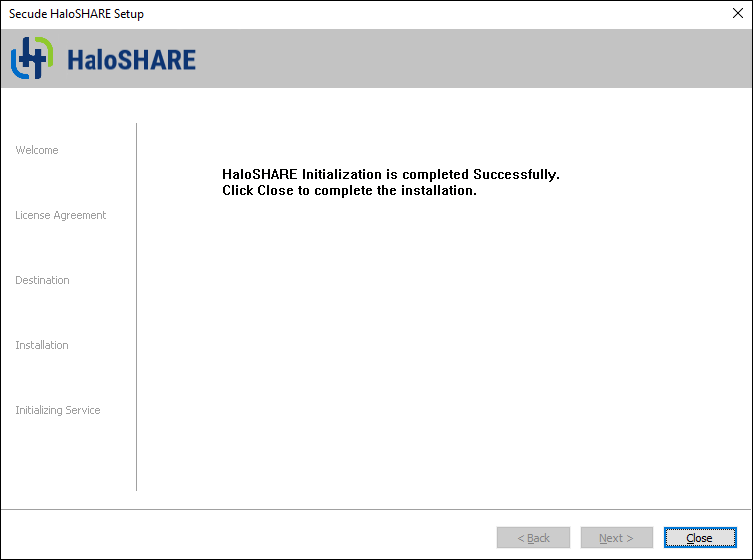
Initialization completed dialog
-
Click Close to complete the installation.
Post-installation checks:
-
You can view the log files at
C:\Users\Username(user running service)\AppData\Local\Secude\HaloSHARE\log. -
You can see the configuration information of the HaloSHARE add-on in the registry—
HKEY_LOCAL_MACHINE\SOFTWARE\Secude\HaloSHARE. -
A protected policy XML file will be located at
C:\Users\Public\Secude\HaloSHARE.
Update from Old to New Version
Prerequisite:
From the installed location, back up the current haloshare_config.enc file. It provides the HaloSHARE configuration properties, which will be essential to retain current settings.
-
Uninstall the current version
-
Install the new version
-
Replace the
haloshare_config.encfile in the HaloSHARE installation folder. The default path isC:\Program Files\Secude\HaloSHARE.
What to do next
After installing the HaloSHARE, you must configure it to meet your company's requirements. To learn how to configure it, please refer to the following chapter.