
Installing the HaloCAD for Teamcenter
This chapter explains the requirements, prerequisites, and how to install HaloCAD for Teamcenter.
System Requirements
The following system requirements table specifies the minimum and recommended technical specifications, such as software and network resources, necessary to run the product.
Components | Details |
|---|---|
Supported Operating System | Windows Server 2016 and above |
Supported Teamcenter versions |
|
Supported file types |
|
Other components | HaloENGINE and HaloENGINE Service |
Requirements
Prerequisites
The following preparatory steps or conditions must be met before installing the product.
Make sure you have administrative access before performing the most of system and dataset tasks.
Make sure the client computer running the HaloCAD Add-on for NX or the HaloCAD Add-on for Creo can connect to the Teamcenter Server.
Make sure your HaloENGINE complies with the requirements listed below:
License file (enabled with TEAMCENTER system type).
Proper action rules
Client certificate (
.JKS)
Make sure that the following system variables are set:
Default_Transient_Server − The default transient file server location.
Default_Transient_Server=http://<host>:<port>/tc/fmsFor example,
Default_Transient_Server=http://tclu0310.secude.local:8080/tc/fms
Fms_BootStrap_Urls – The FMS server that manages file downloads.
Fms_BootStrap_Urls=http://<host>:<port>/tc/fmsFor example,
Fms_BootStrap_Urls=http://tclu0310.secude.local:8080/tc/fms
Make sure to have an entry in Credential Manager which will be used during the HaloCAD component configuration. To do so, go to Control Panel > User Accounts > Credential Manager > Manage Windows Credentials > Add a Generic Credential, enter all the required details, and save the entry.
The credentials are stored in Windows Vault. The following figure shows a sample entry for the Credential Manager.
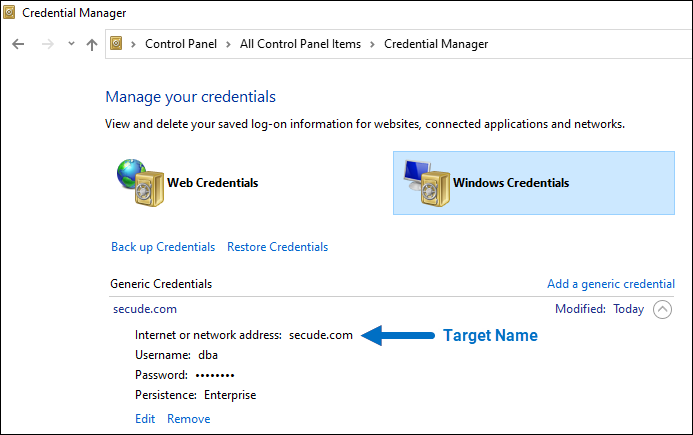
Entry in Credential Manager
Make sure to log in to Teamcenter using the service user in client SOA (which is added in Credential Manager), and we recommend that the user is assigned with “read” permission.
If you want to implement a failover mechanism in HaloENGINE, please refer to the section “Failover Mechanism for HaloENGINE in HaloCAD for PLM”.
Installation Modes
You can install the HaloCAD component in the following modes:
Graphical Mode
Graphical mode installation is an interactive, graphical user interface-based method that is driven by a wizard.Silent Mode
Silent-mode installation is a non-interactive method of installing the HaloCAD component using command lines.
Graphical Mode
Install the HaloCAD component using the GUI-based setup program provided in the installation package.
To begin the interactive installation, double-click the installer
HaloCAD_Teamcenter_Setup.exefile.Depending on your Windows security settings, you may get a warning such as "Do you want to allow the following program to make changes to this computer?". If you get this security warning, click the Yes button to continue the installation.
When the installer starts, you will see the startup dialog followed by the welcome dialog:

Startup Dialog
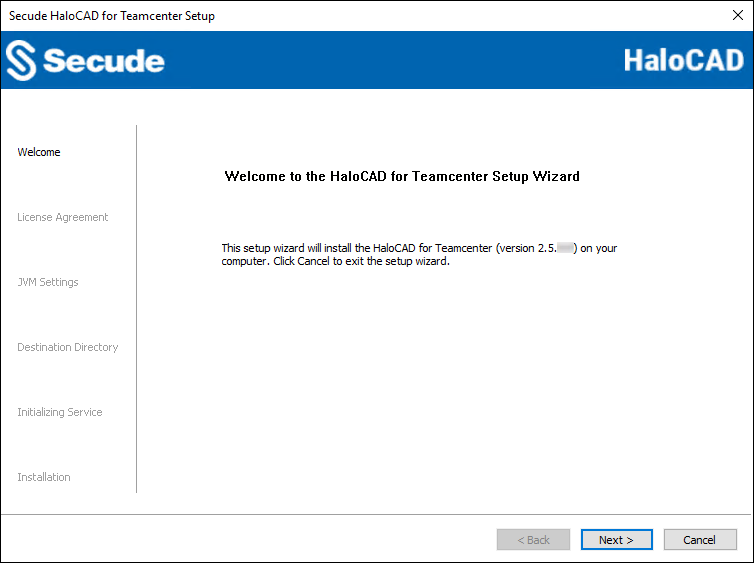
Welcome Dialog
Click Next to continue the installation.
The end-user license agreement dialog will appear:
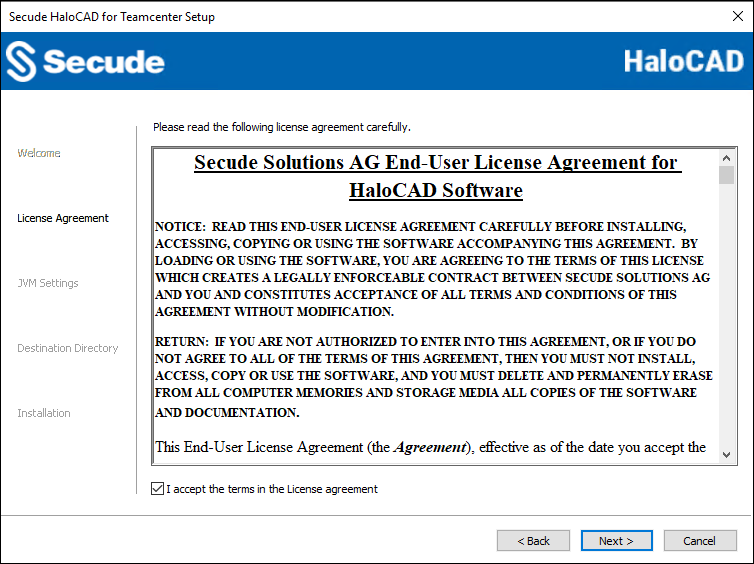
End-User License Agreement Dialog
Read the End-User License Agreement. If you agree, select I accept the terms in the License Agreement and click Next.
The Tomcat memory pool size configuration dialog will appear:
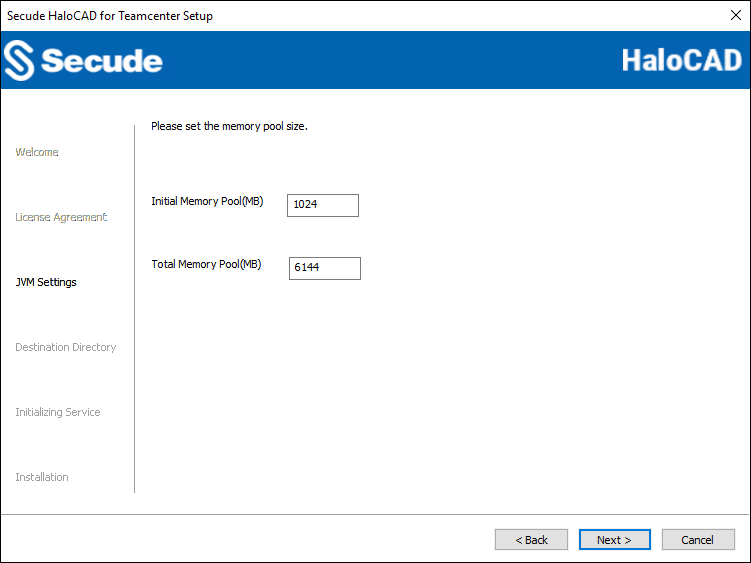
Tomcat pool size configuration dialog
Enter the amount of memory you want to allocate to change the preset values for the Initial Memory Pool and Total Memory Pool. Note: Ensure that the Total Memory Pool does not exceed the System's available 3/4th RAM.
Click Next. The destination folder selection dialog will appear:
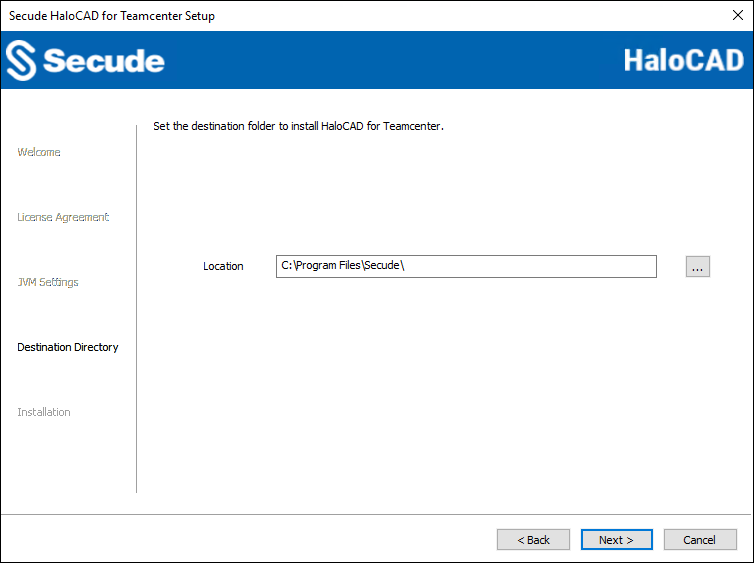
Destination folder selection dialog
By default, application files are stored in the program files directory (
C:\Program Files\Secude\). If you would like to choose an alternate location, click the Browse button and select your location preference. Note: If HaloENGINE Service and/or HaloENGINE are already installed, you cannot change the destination folder. The browse button becomes disabled. Click Next to allow the Setup program to install the HaloCAD component.To return to any point in the installation process, click the Back button (optional).
The Tomcat user credential dialog will appear:
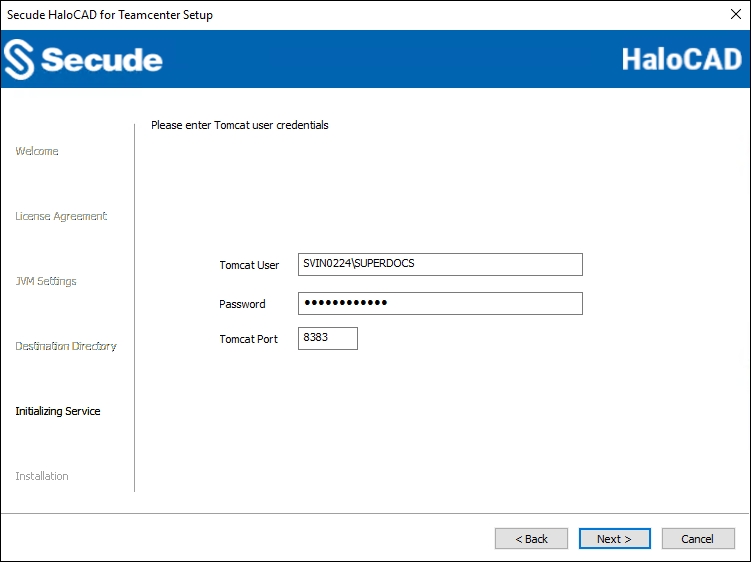
Tomcat user credential dialog
To configure the Tomcat service, enter the following details:
If the computer is connected to a domain you need to enter a domain name first followed by the user name and password in the Tomcat User text box. For example,
[Domain Name]\[User],SECUDE.TC\Admin.On a non-domain joined computer, you need to enter the machine name first followed by the user name and password in the Tomcat User text box. For example,
[Machine Name]\[User],SECUDEdesk\Admin.Tomcat Port: The default port is 8383. You can, however, change the port number; it must be greater than 999 and less than or equal to 65535.
The installation begins and progress is shown in the dialog.
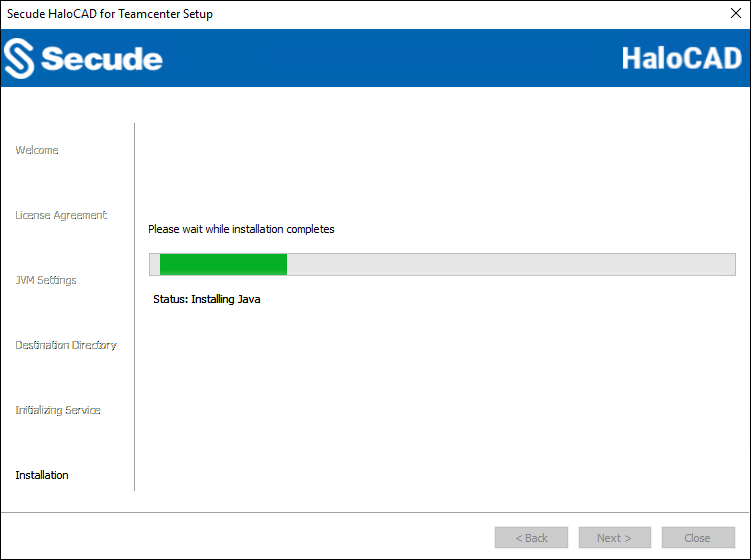
Installation progress dialog
When the installation is completed, you will see a message confirming that the HaloCAD component has been successfully installed.
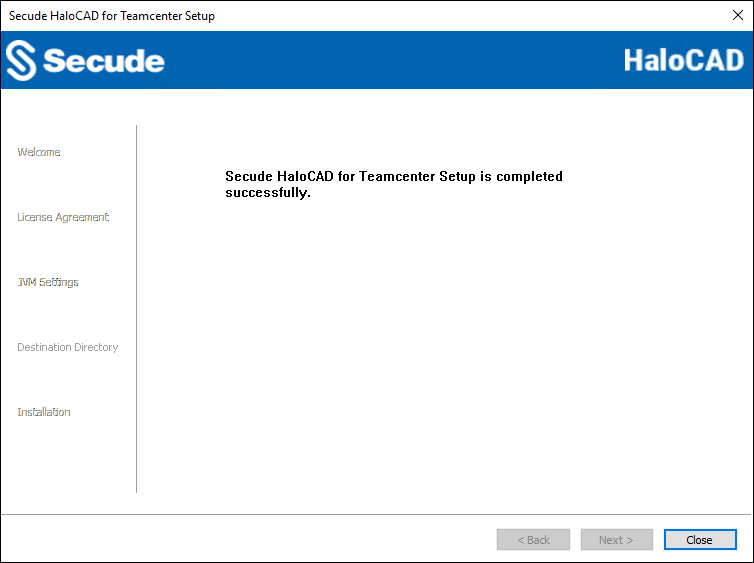
Installation completed dialog
Click Close to close the installation wizard.
Post-Installation files:
The following files and directories can be found in both the default and user-specified installation locations:
Configuration Tool—
C:\Program Files\Secude\HaloCADTeamcenter\config\halocad-teamcenter-config-<version>.jar. This tool is explained in the next section “Configuring the HaloCAD Proxy”.Java-related files—
C:\Program Files\Secude\secude-jreTomcat Related files—
C:\Program Files\Secude\TomcatLog file—
C:\Program Files\Secude\Tomcat\logs\haloproxy.log
Silent Mode
Besides graphical mode, the HaloCAD component can be installed in silent mode, which does not require user involvement or display a user interface. It is a convenient way to streamline the installation process using commands at once.
Open the Command Prompt with elevated rights (Run as Administrator).
Navigate to the directory of the HaloCAD component installer.
To know the list of options available in silent mode, follow the steps given below:
TypeHaloCAD_Teamcenter_Setup.exe -help
PressEnter
Output
...HaloCAD_Teamcenter_Setup.exe -helpHaloCAD_Teamcenter_Setup.exe -install -initmempool <Initial memory pool size in MB(s).Minimum size is 128 MB> -totalmempool <Total memory pool size in MB(s).Maximum size is 3/4 of total RAM size.> -dir <destination_directory> -port <range_1_to_65535> -username <keep-empty-quotes> -password <user-domain-password>HaloCAD_Teamcenter_Setup.exe -uninstallThe following command illustrates how to install the HaloCAD component.
HaloCAD_Teamcenter_Setup.exe -install -initmempool 1024 -totalmempool 2048 -dir "C:\Program Files\Secude" -port 8383 -username "" -password "Sample@123"Press
Enter.The installation is complete.